
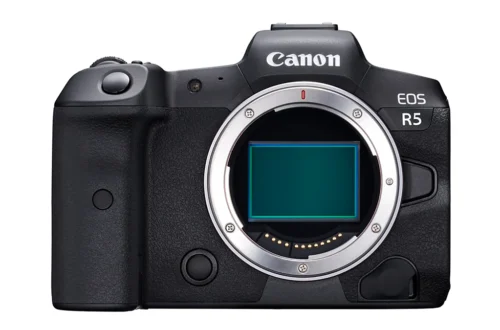
Setting up AF shortcuts on the Canon EOS R5
By following these steps, you will be able to set AF operation shortcuts to customisable buttons on the Canon EOS R5 (this guide has been written specifically for the Canon EOS R5, however, the operation will be similar to other EOS R cameras).
Setting autofocus (AF) operation shortcuts to customisable buttons on the Canon EOS R5 (and other EOS R cameras) is an easy way to improve the handling experience by allowing quick access to frequently used functions.
The default (factory) setting for the AF-On button at the rear of the camera is to initiate the AF operation, which is fine if you want to check its working before triggering the shutter (with the shutter button), but it can be made to do more.
Sports photographers often want to customise their cameras for so-called ‘Back-button AF‘ operation, and it can even be a useful option for portrait photographers as well, see here for more information.
Back Button AF is a great way to have control over AF and manual focusing. However, if you want to retain the AF start feature of the shutter button, which is ingrained in a lot of photographers, and have direct control over AF, then there’s what I’m calling ‘Dual Back Button AF‘ operation.
To set this up, both the AF-On button and the Asterix-labelled (AF-Lock) button at the rear have to be reconfigured. The AF-On is used to cycle through the AF operation modes: AI-Servo, Single Shot and Continuous, while the Asterix button is customised to cycle through the various AF method options of Face+Tracking, Expand AF area, Zone AF or Large Zone AF, etc. It’s perhaps not as slick as Back-button AF, but it’s a more intuitive and familiar way to control AF.
Here’s how to customise these buttons:
Steps to Customise AF Operation Shortcuts
- Turn on the Camera: Ensure your Canon EOS R5 (or other EOS R camera) is powered on.
- Access the Menu:
- Press the Menu button on the back of the camera.
- Navigate to the Custom Functions:
- Use the multi-controller or touchscreen to navigate to the Custom Functions (C.Fn) menu (represented by the small Camera with a scale icon).
- Look for the Custom buttons option page 3 (C.Fn3).
- Select the Button to customise:
- In the Customise buttons menu, you will see a diagram with icons representing the buttons that can be customised.
- Select the button you want to assign an AF function to (e.g., the AF-On button, Asterix (AF-Lock), or any other customizable button).
- Choose the AF Function:
- After selecting the button, you will see a list of available functions.
- Scroll through the options and select the desired AF operation:
- One-Shot AF – AI Servo AF (For AF-On button)
- Direct AF Method Selection (For Asterix (AF-Lock) button)
- Save Your Settings:
- After selecting the desired function, confirm your choice by pressing the Set button.
- Exit the menu by pressing the Menu button again or by lightly pressing the shutter release button.
- Test the Customisation:
- Try using the customised buttons in shooting mode to ensure it activates the desired AF function.
Additional Tips
- Multiple Custom Buttons: You can customise more buttons for different AF functions, allowing for a more tailored shooting experience.
- Experiment: Take some time to experiment with different settings to find what works best for your shooting style. For example, the AF Point Selection button, which is located between the AF-On and Asterix (AF-Lock) button, could serve as the Direct AF Method Selection button instead of the Asterix (AF-Lock) button, if it’s a more natural location for you.


You must be logged in to post a comment.