Articles,  Capture One Pro,  News,  Tutorials

Tutorial: Importing Images into Capture One

If you’re new to Capture One, either as a beginner or more experienced photographer coming from Lightroom, then there are a few concepts that you need to know about the process that will help you when importing images. 

Capture One (for Sony or Fujifilm) adopts a Catalog-based image management system, where Capture One Pro has an additional Sessions based workflow. When working with a Catalog, Capture One and Capture One Pro are functionally identical, the only difference being the feature set. Sessions work a little differently to Catalogs. They don’t require all the images to be indexed when importing, and so they can be a better solution in some circumstances. 

Sessions tend to be used by professionals (but are just as useful for amateurs) when working on a job-by-job basis. As they create individual system folders and subfolders, they’re ideal for standalone projects such as client commissions, or any specific project. They’re also the simplest and most logical to work with when working tethered – there is no better tethered workflow solution available and that’s not just my opinion. As there’s more than one method, I’ll deal with how to import images into a Session in a later post.

Importing into a Catalog

When opening a Catalog for the first time, you’ll want to import some images to see them and get started – it won’t automatically populate with thumbnails like most cache-based browsers. This is quite normal, after you’ve imported some they will be displayed every time you open the application. 

Every image must be imported via the Import dialog. In doing so, each image is referenced in its location (to be decided by you) so it can be traced when searched for, and a thumbnail is generated with the cache stored within the Catalog itself (which allows you to see it).

So, the next thing to do is decide whether you want to import images you’ve just taken with your camera from its memory card, or whether you want to import some already on your computer or external drive. Capture One can’t handle both simultaneously, so let’s start with importing from a memory card.

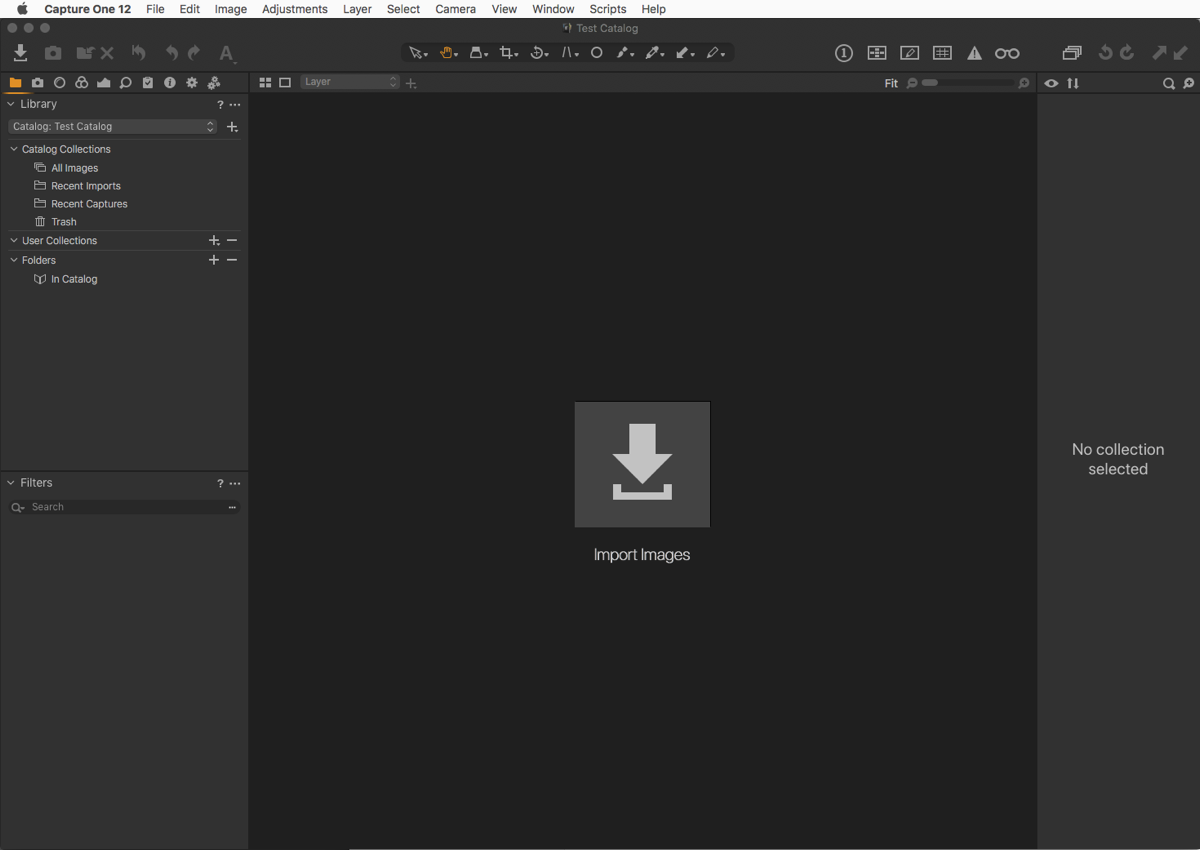
The default setting for importing (altered in the preferences) means that Capture One will automatically detect when you insert a memory card in your card-reader and open the Import dialog window (aka, the “Importer”). If it doesn’t detect it for some reason, simply click on the Import button in the Viewer window (only available on new Catalogs), or click on the Import icon in the tool bar, or select it from the main menu; File > Import Images.

The Importer will open, and the images on the memory card will be displayed. If they’re not, make sure the Include Subfolders is enabled (my advice would be to leave it enabled). Also, make sure the Exclude Duplicates option is enabled. One advantage of Catalogs over Sessions is that every image imported into that particular Catalog will be referenced and it will know if you try to import the same image again, which is useful if, like me, you leave images on cards as a back-up. Although the process is the same with a Session, it’s less useful from an image management standpoint, as after you’ve imported your images you’re unlikely to add new images to it at a later date. More importantly, the feature can’t check between Sessions. Although that’s the same for Catalogs, you are likely to manage more than one project in a Catalog.

After you’ve identified the images you want to import (you can select individual images in the Importer’s browser but Capture One selects them all by default) which is detailed in Source field of the Import From dialog of the Importer, you must select where you want those images to be stored. 

In the Import To dialog immediately below, click on the Destination fly-out and select Choose Folder. It will open a dialog for the Pictures folder on your computer, where you can create a new folder for the images to be copied to.  As an alternative, to prevent your valuable computer capacity from being used up too quickly,  I would suggest you use the same dialog to navigate and save the images to an external drive, and then select New Folder, name it, click Create and select Set as Import Folder (and visually confirm the fly-out has saved the setting). 

As an alternative, if you’ve already set up a folder on an external drive such as Image Library or My Image Library, as I have, then you need only navigate to that and then create a new folder for the images by adding a name (or a token) in the Sub Folder field. Conveniently, the Importer remembers your last four or five Destination folder locations and if you’re regularly importing into the same parent folder (such as My Image Library) if that was the last folder selected, it will already be chosen in the Destination field.

If your image files are on your computer or an external drive, you must still use the Importer to create a reference (in case you move them) and to generate thumbnails before you see them and edit them in the Catalog. In which case you must select Current Location. I wouldn’t advise to select Inside Catalog, as this option will move your files and store them actually inside the Capture One Catalog itself.

I would also advise you close all the other dialogs in the importer till you’re used to setting the destination. Capture One will remember the last used settings but if you regularly swap between the computer’s Pictures folder and an external drive it’s a good way of getting familiar with the process without further distractions.

In summary

1 From an open Catalog, click on the Import icon, located far left in the main toolbar of the default workspace.

2 Go to the Import From dialog of the Importer and select the memory card, or if you want to view and edit images already on your computer or external drive, then navigate to the folder of images and select it. Also enable Include Subfolders and Exclude Duplicates, if not already selected.

3 Go to Import To dialog directly beneath. Click on the Destination fly-out and, 

– If importing from a memory card, select choose folder then navigate to your Pictures folder or external drive (preferred), then select New Folder, name it, click Create, then Set as Import Folder.

 – If you want to see images on your computer already or on an external drive, select Current Location only!

4 Click on Import all to import your images into the Catalog.


Download a free trial of Capture One Pro.

Support this site

If you found this feature useful, please consider buying a license or subscription through our links. Sales through these links may earn commission, which helps the running of this site. When buying through the official Phase One store, please click on Enter Promotional Code add the code ‘DJP’ in the dialog that opens. Please also be sure to check the code has been registered before proceeding with the purchase. Please note this code will not trigger an extra discount if any is offered, but it will show Phase One that you support the work of this site. Note also that if a time-limited discount code is available you should use that discount code instead. Thank you for your support.