
Technical Data Manufacturer Panasonic Model Lumix S 24-60mm F2.8 (S-E2460) Web https://www.panasonic.com/uk/ Elements/construction 14 elements in 12 groups (3x Asph, 1x UED, 2x ED), Coatings: Fl Angle...
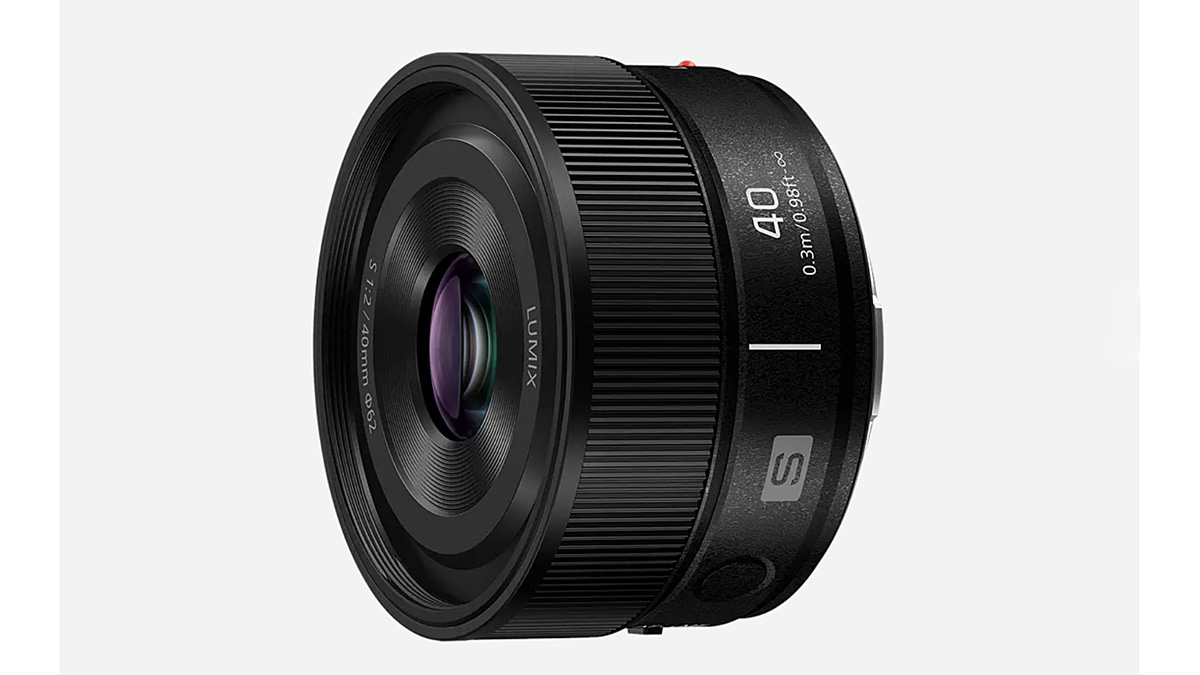
The Panasonic Lumix S 40mm F2 is one of the best all-round “standard” focal length lenses for enthusiast and professional photographers. Here’s where it excels, where it falls short, and who sho...
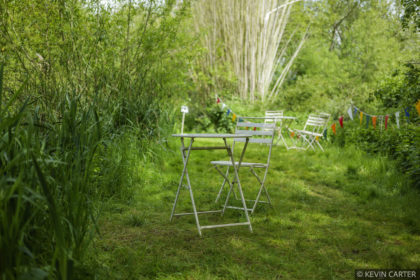
The following sample of photographs was created with the Panasonic Lumix S1R II, complete with the new Lumix S 40mm F2 lens, on loan from Panasonic UK. I wouldn’t typically use F2 for garden photograp...

The following sample of photographs was created with the Panasonic Lumix S1R II, complete with the new Lumix S 40mm F2 lens, on loan from Panasonic UK. The photographs of the disused factory with its ...
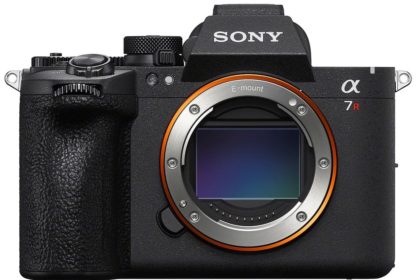
Sony has announced the Sony A7R VI, the latest in the high-res R series cameras, with a 66.8MP Exmor R stacked sensor. It offers 30 fps blackout-free burst shooting, a 1‑second pre-capture feature, a...
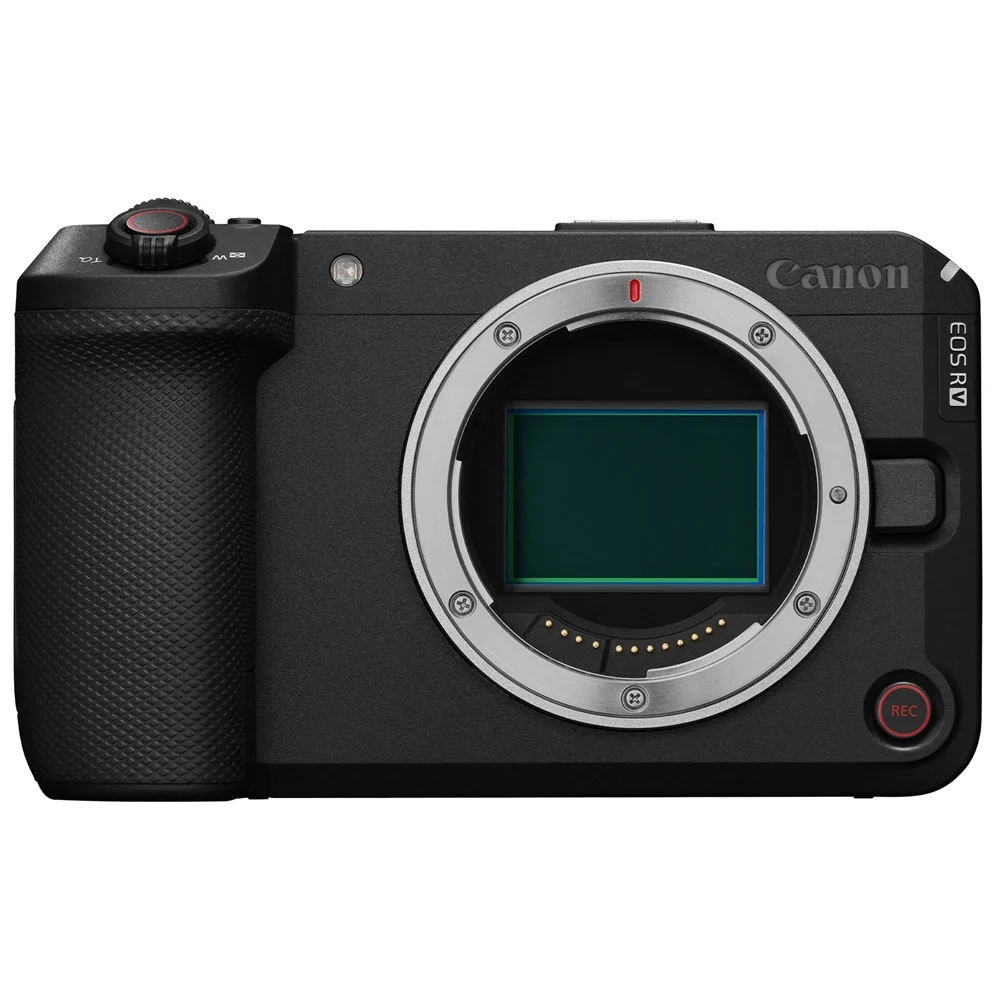
Targeting both content creators and professional filmmakers, the Canon EOS R6 V is a full‑frame camera built for high-end video in a compact, on‑the‑move body. It features a 32.5MP sensor with dual‑ga...
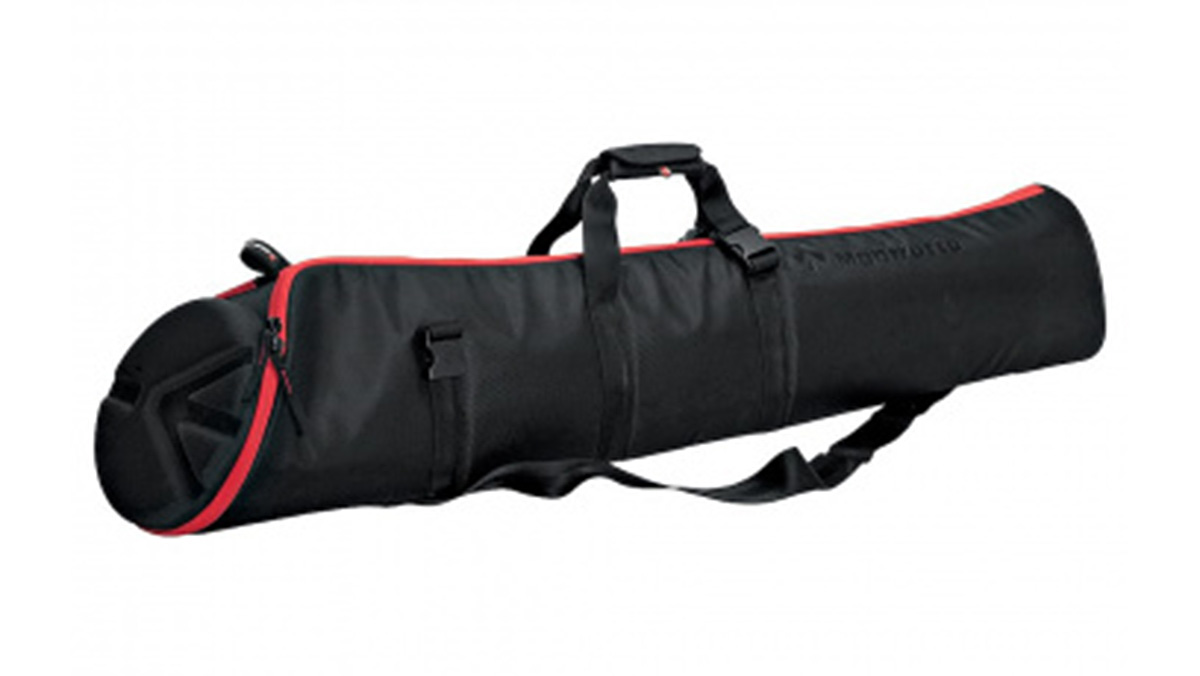
After my review of the unpadded Manfrotto MBAG80N, I thought I would write about the largest in the range, the padded Manfrotto MBAG120PN. This is a beast of a bag, but I bought it to transport a beas...
Compact Standard Prime — L-Mount Panasonic Lumix S40mm F2 S‑S40 7 elements · 6 groups 7-blade iris 144g · 40.9mm Mount L-Mount, full-frame Focal length 40mm (fixed) 57° diag...

Tripods are awkward to transport and store, and to make matters worse, they’re often supplied without a bag or case. If you want to use your tripod more, a bag is a good way to get it out of the close...
Labelling photographs requires editing the metadata fields in Lightroom Classic’s Library Module, and understanding the difference between a Title and a Caption is good to know, as they’re often refer...


