Home / Articles / Tutorials / Using Adapted Lenses on the Canon EOS R5

Using Adapted Lenses on the Canon EOS R5

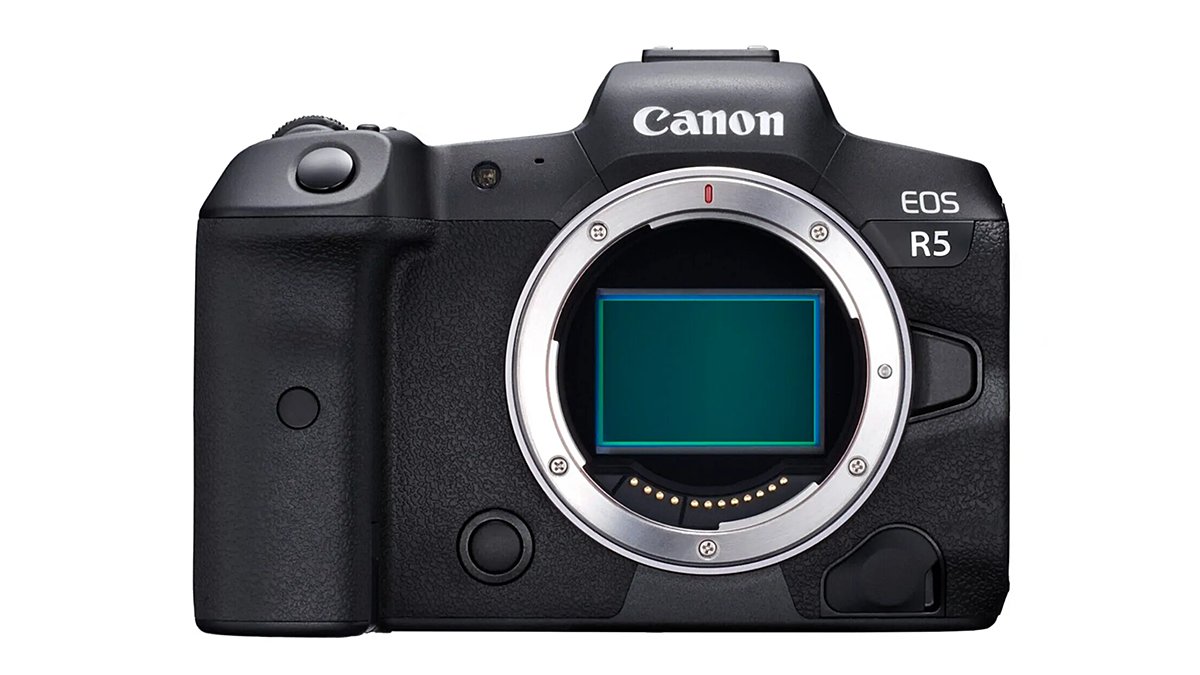
Canon EOS R5 no lens and shutter open revealing the 45 MP CMOS

When mounting a ‘mechanical’ adapter, that is one that has no electronic connection, the camera does not recognise that an adapter is attached, even if a lens is mounted on it.

The Canon EOS R5 is delivered from the factory with the option to operate mechanically adapted lenses disabled (as are other EOS R cameras). No doubt this is to protect the shutter blades and sensor, but it means you will have to enable the option, which Canon describes as ‘release shutter without a lens attached’. This presumably refers to operating the camera to check the shutter operation, but more often than not, I suspect users are going to want to enable this to use an adapted lens other than a Canon EF model. The option can be left enabled when using native RF mount and EF-adapted lenses.

How to release the shutter with a mechanical adapter and lens attached

  1. Turn on the Camera: Power on your Canon EOS R.
  2. Access the Menu: Press the Menu button on the back of the camera.
  3. Navigate to the Custom Functions:
    • Use the camera controls, such as the multi-controller (joystick) or touchscreen, to navigate to the Custom Functions section (represented by the wrench icon).
  4. Select C.Fn Settings:
    • Look for the C.Fn settings, which are labelled as Custom Functions 4 (C.Fn4).
  5. Locate the option, Release shutter w/o lens.
  6. Enable the Setting:
    • Change the setting to On (enable). This allows the camera to take a photo even when no lens is attached.
  7. Exit the Menu: Press the Menu button again to exit.
Tagged: