Articles
Lightroom Classic Library shortcuts
I recently published a post displaying Lightroom Classic’s Develop shortcuts. As you might expect, the Library module has extensive shortcuts as well. The following is for Mac OS, but Windows users can adopt most of them directly; where Command is shown, simply replace it with Control.
Do Lightroom Classic’s Point Curve and Parametric Curve affect colour?
Neither the Point Curve nor the Parametric Curve directly affects the colour of an image in Lightroom Classic. However, their adjustments can indirectly impact how colours appear based on changes in brightness and contrast. Influence on Colour Perception Point Curve: Adjusting the brightness in specific tonal ranges can influence how vibrant or muted certain colours appear. For example, increasing brightness in the shadows might make darker colours look lighter and less saturated. Parametric Curve: Similar to the Point Curve, working with the sliders affects overall exposure, which can change how colours are perceived. Adjustments in highlights might enhance or reduce brightness in colours that correspond to lighter areas. Colour Adjustments…
Differences between Point Curve and Parametric Curve in Lightroom Classic
In Lightroom Classic, the Point Curve and Parametric Curve are both tools located in the Tone Curve panel. They’re used for adjusting brightness and contrast in your images. However, they operate differently and serve distinct purposes. Point Curve This curve gives you the flexibility to create multiple points, allowing for unique shapes that can enhance the image contrast and brightness in specific areas. This is the option to use when you need precise control over the tonal range, from shadows, mid-tones and highlights. Parametric Curve This approach is more user-friendly, as you can adjust the overall look of the image by moving sliders within a predetermined range. It’s beneficial for…
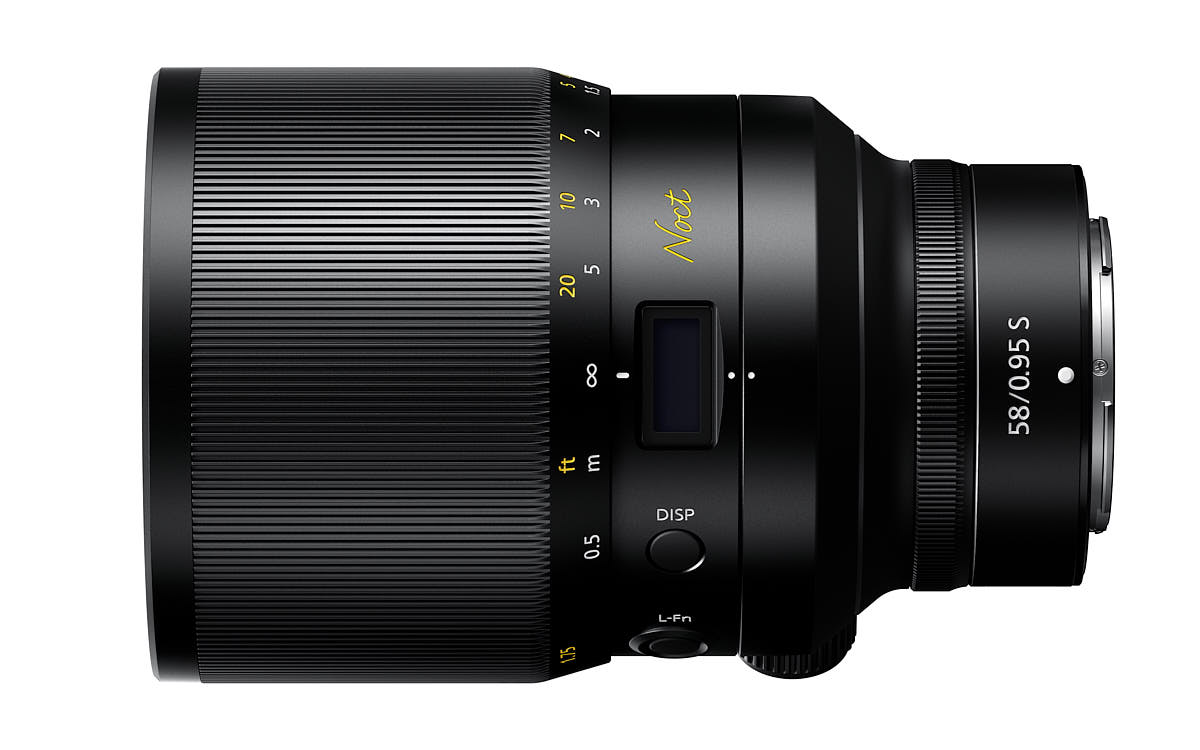
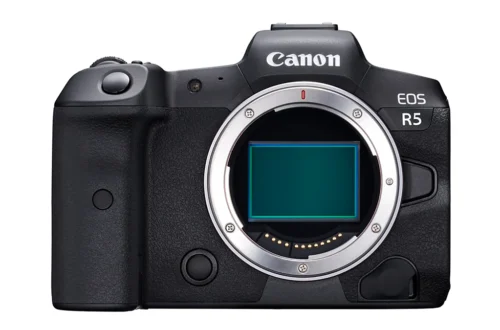
Quick guide to enabling manual focus override on EOS R cameras
By default, Canon EOS RF lenses don’t have the instant manual-focus override feature enabled, as you find on the EF series. To enable this functionality, you need to change a specific menu setting in the EOS R camera. Follow these steps to activate manual focus override: Steps to Enable Manual Focus Override Access the AF Menu:On your camera, navigate to the AF menu. For the Canon EOS R5 and EOS R6, look for page AF 4. For other models, look through the AF menu pages for the following option: Locate “Lens Electronic AF” option:Within the AF menu, locate the “Lens electronic AF” option. Change the Setting:Set it to either: “One-Shot…
Lightroom Classic Develop Shortcuts
Lightroom Classic’s shortcuts are a great timesaver and worth getting familiar with. The following list is for Mac OS (but you can substitute Ctrl for Command if you’re a Windows user).
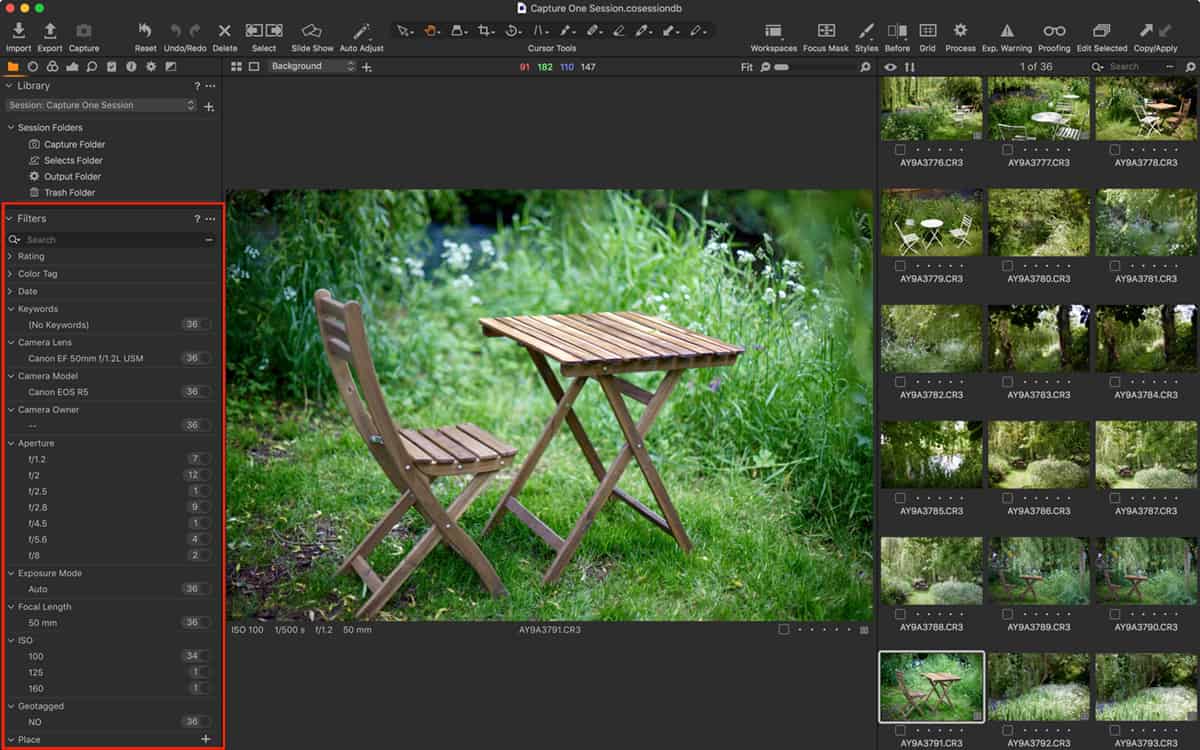
Difference Between Collections and Smart Collections in Lightroom Classic
In Lightroom Classic, Collections and Smart Collections serve the purpose of organising photos, but they differ in how they operate and the functionality they provide. Collections Manual Organisation: Users manually add photos to Collections. This gives full control over which photos are included. Flexible Use: A photo can belong to multiple Collections without moving its original file location. Custom Naming: Users can name and organise Collections based on projects, events, or personal preferences. No Criteria: Collections do not employ search criteria to collect and organise images; all images must be added or removed manually. Smart Collections Automatic Organisation: Smart Collections automatically organise photos based on defined criteria, like metadata or keywords.…
High Pass Sharpening in Photoshop
High Pass sharpening is a lesser-known technique that enhances detail while minimising overall noise. Follow these steps to apply High Pass sharpening in Adobe Photoshop: Step-by-Step Guide Launch Photoshop and open the image you want to sharpen. Duplicate the Layer: Right-click on the background layer in the Layers panel and select Duplicate Layer…. Rename it to “High Pass” or something similar for clarity. Apply High Pass Filter: With the duplicated layer selected, go to the menu and click on Filter > Other > High Pass. In the High Pass dialogue box, look to adjust the Radius slider. A radius of around 1–3 pixels typically works well with higher resolution images.…
Adopting the Match Total Exposure option in Lightroom Classic
Match Total Exposure is a time-saving feature in Adobe Lightroom Classic that adjusts exposure between multiple images. This tool can be particularly useful when working with a series of photos from the same shoot. Lightroom looks at the shutter speed, aperture value, ISO settings, any exposure bias from the EXIF data and the exposure slider setting in Lightroom. Then it automatically adjusts the same slider in the selected images to try to match the exposure of the original, highlighted image. Steps to use Match Total Exposure Select Images: In the Library or Develop module, select an image and adjust the Exposure slider to taste. Then select the images whose exposure…
Understanding Copy and Paste settings in Lightroom Classic
Using the Copy and Paste buttons in the side panel of the Develop Module can be a little unintuitive at first. When you use these features, they only apply the settings to the first selected (active) image due to how Lightroom Classic handles these commands. Why It Happens Selected Image Focus: The Copy and Paste buttons are designed primarily to work with the currently highlighted (active) image. Even if you have multiple images selected, it will only copy from and paste to the first image you highlighted. User Interface Behaviour: This behaviour is consistent with many versions of Lightroom, where the main image in an active selection takes precedence in these…
Applying Settings to multiple images in Lightroom Classic
You can apply settings to multiple images at a time in Lightroom Classic through various methods. This helps save time and ensures consistency across your photo edits. The following methods apply to multiple settings, of course, or specific ones, so if you have a sequence of images, they are an efficient way to apply targeted adjustments. For example, on a garden or architecture shoot, I often want to adjust specific colours using the Colour Mixer tool and have those applied over several images for a consistent look. So these options are employed practically every time I open Lightroom. 1. Using Sync Settings from the Develop Module Select the Images: Go…